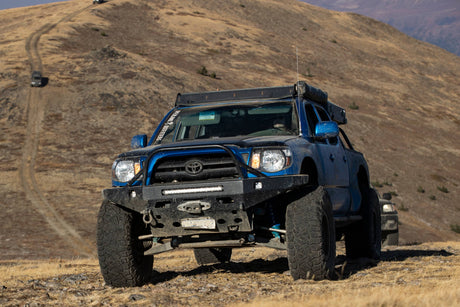
Hey there, Tacoma enthusiasts! If you’ve ever wondered what goes into getting a perfect front-end alignment on your beloved truck, you’re in the right place. We recently had a Toyota Tacoma come into the shop for some front-end work and a fresh alignment. Today, we’re sharing a detailed walkthrough of the entire alignment process from start to finish. Whether you’re gearing up for some off-road adventures or just want to keep your daily drive smooth, we’ve got you covered. Let’s dive in!
Reflectors: The High-Tech Beginning
First things first, we start with the reflectors. These nifty gadgets are key to getting accurate alignment readings. Each reflector has a unique combination of dots and an X, which the computer uses to determine the position and angle of each wheel. Here’s how it works:
-
Attach the Reflectors: We mount a reflector onto each wheel. The computer sends out a laser that reflects off these dots, calculating the exact angle and tilt of each wheel.
- Initial Computer Setup: Once the reflectors are in place, we boot up the alignment software. The first screen shows how the vehicle is lined up on the rack, with each reflector pulsing as it receives the laser. We adjust the height of the rack to ensure all reflectors are centered and the computer has a clear view.
Computer Setup: Dialing in the Details
Now that the reflectors are in place and the computer is ready, it’s time to roll the vehicle forward and back to calibrate the reflectors. This step is crucial for the computer to understand how everything is oriented:
-
Rolling Compensation: We roll the Tacoma forward and backward along specific lines. This helps the computer understand the current alignment of the wheels.
- Locking the Brakes: We then lock the brakes to keep the truck steady. This involves starting the truck so the brake booster is active, then using a special tool to hold the brake pedal in place.
Making Adjustments: The Fine Art of Alignment
With everything set up, it’s time for the real magic – adjusting the alignment. This involves tweaking the camber, caster, and toe to achieve optimal performance:
-
Camber and Toe: These are relatively straightforward. Camber is the angle of the wheels when viewed from the front, while the toe is the angle when viewed from above. We adjust these to ensure even tire wear and good handling.
- Caster: This is where it gets interesting. The caster is the angle of the steering axis when viewed from the side. A higher caster angle improves stability at high speeds – crucial for off-road driving. We often set our caster higher than the manufacturer’s specs for better off-road performance.
Test Drive: The Final Check
After making all the necessary adjustments, it’s time for the moment of truth – the test drive:
-
Removing Reflectors: We take off the reflectors and make sure everything is tightened up.
- On the Road: During the test drive, we check if the steering wheel is centered and if the truck drives straight. Any final tweaks are made to ensure perfect alignment.
The Final Word: Alignment Done Right
Aligning your Tacoma isn’t just about hitting factory specs; it’s about customizing the setup to fit your driving style and needs. Whether you’re tackling tough trails or cruising the streets, a precise alignment makes all the difference. If you found this guide helpful, leave a comment below and share your thoughts. We love hearing from you and are always here to help with your next off-road adventure or daily drive. See you next time!


